Lip-blending sponges are an essential tool for makeup enthusiasts who strive for professional-looking, seamlessly blended lip color. These small but powerful tools offer a level of precision and finesse that is difficult to match with traditional application methods. Whether you want to create a subtle ombré look or a dramatic color transition, the right sponge technique can take your lip makeup to the next level.
Anatomy and Functions of Lip-Blending Sponges
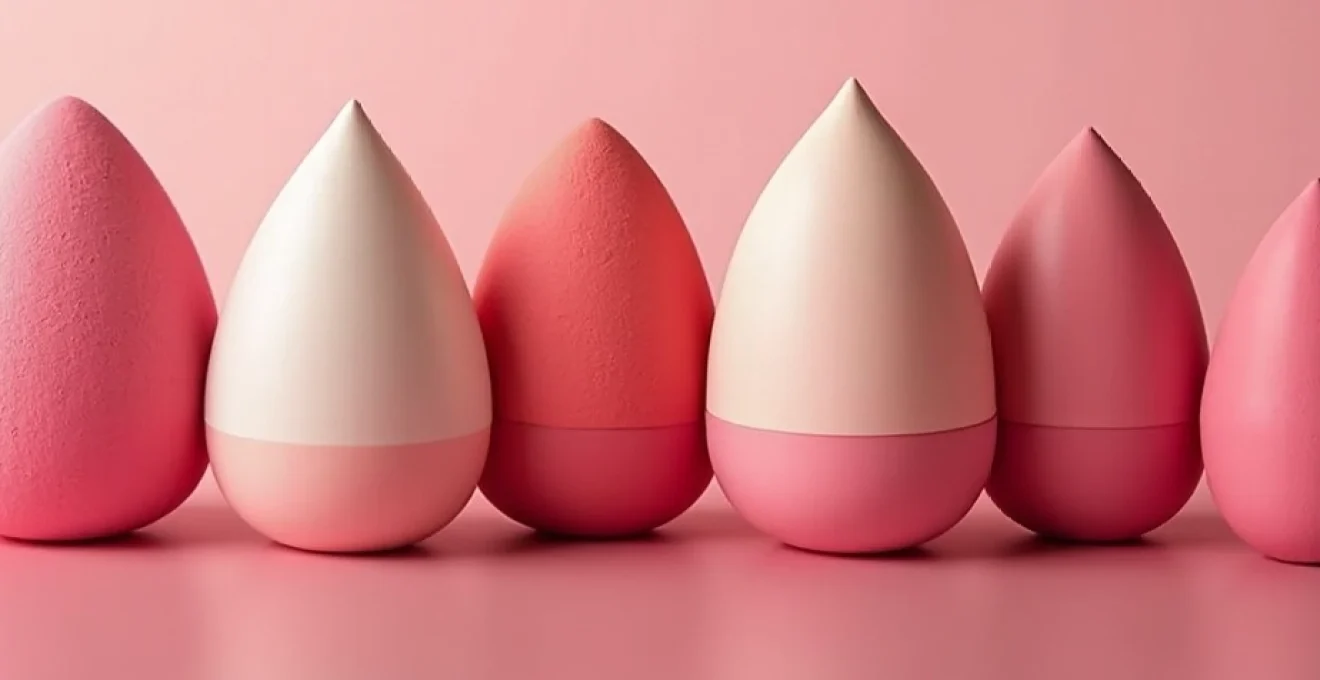
Lip-blending sponges are specifically designed to complement the unique contours and texture of the lips. They are usually made of soft, porous material that can effectively absorb and distribute lip products. The shape of these sponges varies, but they often have a pointed side for precision work and a rounded side for larger surfaces.
The primary function of these sponges is to create a smooth transition between different lip colors or shades. They help remove harsh lines and provide a professional, airbrushed finish. In addition, they can be used to control the intensity of the color, allowing you to effortlessly switch between subtle and bold looks.
An important advantage of lip-blending sponges is their ability to distribute product evenly without excessive buildup. This results in a long-lasting, comfortable finish that is less prone to fading or bleeding throughout the day.
Different Types of Lip-Blending Sponges and Their Applications
There are different types of lip-blending sponges, each with its own unique properties and benefits. Choosing the right type of sponge can make a significant difference in the final result of your lip makeup. Let's take a closer look at the most common types and their specific applications.
Beauty Blender for Seamless Lip Color Transition
The iconic Beauty Blender, originally designed for foundation, has proven to be a versatile tool for lip makeup. The soft, egg-shaped sponge is ideal for creating a seamless transition between different lip colors. Use the pointed side for precise blending along the lip contours and the rounded base for even distribution of color over the entire lip surface.
The unique texture of the Beauty Blender ensures that the product is absorbed and evenly distributed, resulting in a natural, airbrushed finish. It is particularly effective when working with liquid and cream lip products because it tends to blend these formulas perfectly.
Silicone Sponges for Precision with Ombré Lips
Silicone sponges are distinguished by their smooth, non-porous surface. This property makes them particularly suitable for creating precise ombré effects on the lips. Unlike porous sponges, silicone sponges do not absorb product, giving you full control over the amount and placement of color.
Using a silicone sponge is ideal when working with highly pigmented or long-lasting lip products. The smooth texture ensures a clean, defined transition between colors, perfect for creating dramatic ombré looks or accentuating the cupid's bow.
Microfiber Sponges for Subtle Color Gradient
Microfiber sponges are known for their extremely soft and fine fibers. This property makes them extremely suitable for creating subtle, natural-looking color transitions on the lips. The fine fibers can pick up and distribute even the smallest amounts of product, resulting in a soft, diffused finish.
These sponges are particularly effective when working with powdery or matte lip products. They help prevent a dry or grainy look that can sometimes occur with these formulas. Use a microfiber sponge for a soft, airbrushed look that appears natural and effortless.
Latex-Free Options for Sensitive Skin
For makeup enthusiasts with sensitive skin or a latex allergy, latex-free sponges are an essential option. These sponges are usually made of hypoallergenic materials such as polyurethane or silicone, making them safe for use on even the most delicate skin.
Latex-free sponges offer the same blending capabilities as their latex-containing counterparts, but with the added benefit of reduced risk of irritation. They are available in various shapes and densities, allowing you to choose the option that best suits your specific lip makeup needs and skin type.
Step-by-Step Technique for Perfectly Blended Lips
Now that we have discussed the different types of lip-blending sponges, it's time to delve deeper into the technique for creating perfectly blended lips. Follow these steps for a professional and long-lasting result.
Preparing the Lips with Scrub and Primer
Proper preparation is essential for smooth lip color application. Start by exfoliating your lips with a gentle lip scrub to remove dead skin cells and create a smooth base. Gently massage the scrub in circular motions and rinse off with warm water.
After scrubbing, it is crucial to apply a hydrating lip primer. This not only provides extra hydration but also creates a barrier between your lips and the lip products, which improves the durability of your look. Allow the primer to absorb for a few minutes before proceeding to the next step.
Applying Base Colors with MAC Lip Pencils
For long-lasting and well-defined lip color, start by applying a lip liner. MAC lip pencils are an excellent choice because of their rich pigmentation and long-lasting formula. Carefully trace the contours of your lips and then fill in the entire lip with the pencil. This serves as a solid base for your lip color and helps prevent bleeding.
Next, apply your chosen lip color(s). If you want to create an ombré effect, start with the darkest color on the outer edges of your lips and work your way inward with lighter shades. Make sure to slightly overlap the colors where they meet to facilitate blending.
Blending Technique with Tapping and Rolling Motions
Now comes the crucial moment: blending the colors with your chosen sponge. Start with light tapping motions on the transition areas between the different colors. This technique helps distribute the pigments without completely blending them, resulting in a subtle gradient.
Then, switch to gentle rolling motions with the sponge. Start at the outer edges of your lips and gently roll inward. This motion creates a seamless transition between the colors and eliminates any harsh lines. Repeat this process until you are satisfied with the degree of blending.
A professional tip is to lightly rotate the sponge between each rolling motion. This ensures that you are always using a clean part of the sponge, resulting in cleaner blending.
Fixing the Blended Colors with Setting Spray
To keep your perfectly blended lip color in place all day, it is essential to fix it. Use a high-quality setting spray specifically designed for lip makeup. Hold the spray about 20 centimeters away and spray a light mist over your lips.
Let the setting spray dry completely before pressing your lips together or eating or drinking anything. This final step seals your lip color and provides long-lasting wear, even when eating, drinking, or talking throughout the day.
Advanced Lip-Blending Looks and Effects
Now that you have mastered the basic technique, you can experiment with more advanced lip-blending looks and effects. These techniques allow you to create unique and striking lip makeup that is sure to impress.
A popular advanced technique is creating a gradient lip or Korean gradient lip. This look is characterized by a more intense color on the inside of the lips that gradually fades towards the outer edges. Use a sponge to fade the color from the center of your lips outward, leaving the edges of your lips almost bare.
Another interesting technique is creating a metallic ombré effect. Combine a matte lip color as a base with a metallic shade in the center of your lips. Use a precision sponge to carefully fade out the metallic color, resulting in a multidimensional, glossy look.
For a dramatic effect, you can experiment with contrasting color combinations. Consider blending a deep burgundy with a bright fuchsia, or a dark purple with a light lavender. The key here is subtlety in the transition; use your sponge to gradually merge the colors for a seamless result.
Maintenance and Hygiene of Lip-Blending Sponges
Keeping your lip-blending sponges clean is crucial for both the effectiveness of your makeup application and the health of your skin. Regular maintenance ensures that your sponges remain free of bacteria and accumulated product, which can lead to skin irritations or impure makeup application.
Ideally, wash your sponges after each use, but at least once a week if you use them daily. Use a mild, liquid soap or a special sponge cleanser and gently massage it into the sponge under lukewarm running water. Gently squeeze the sponge until the water is clear and no makeup residue is visible.
Always air dry your sponges in a clean, well-ventilated place. Avoid using a hair dryer or placing sponges on a radiator, as heat can damage the structure of the sponge. Store dry sponges in a clean, airtight container to prevent contamination.
Replace your lip-blending sponges every 3 to 6 months, depending on the frequency of use and the quality of the sponge. A worn or damaged sponge can negatively affect your makeup application.
Common Mistakes When Using Lip-Blending Sponges
Even experienced makeup users sometimes make mistakes when working with lip-blending sponges. By knowing and avoiding these common pitfalls, you can refine your technique and achieve more consistent results.
A common mistake is using too much pressure when blending. Excessive pressure can lead to uneven distribution of product and even damage to the delicate lip skin. Instead, work with light, gentle motions and gradually build up the intensity.
Another common mistake is ignoring the unique properties of different lip products. Not all formulas blend in the same way. For example, matte lipsticks often require a different approach than glossy or liquid formulas. Experiment with different techniques to discover what works best for each type of product.
Finally, many people make the mistake of stopping blending as soon as the colors appear to be blended. For a truly professional result, it's important to continue with subtle blending, even when it already looks good. This provides that extra finesse that makes the difference between a good and a great lip look.
By mastering these techniques and avoiding common mistakes, you can perfect the art of lip-blending. With the right tools, knowledge, and a little practice, you will be able to create professional-looking, perfectly blended lip color that stays beautiful all day.